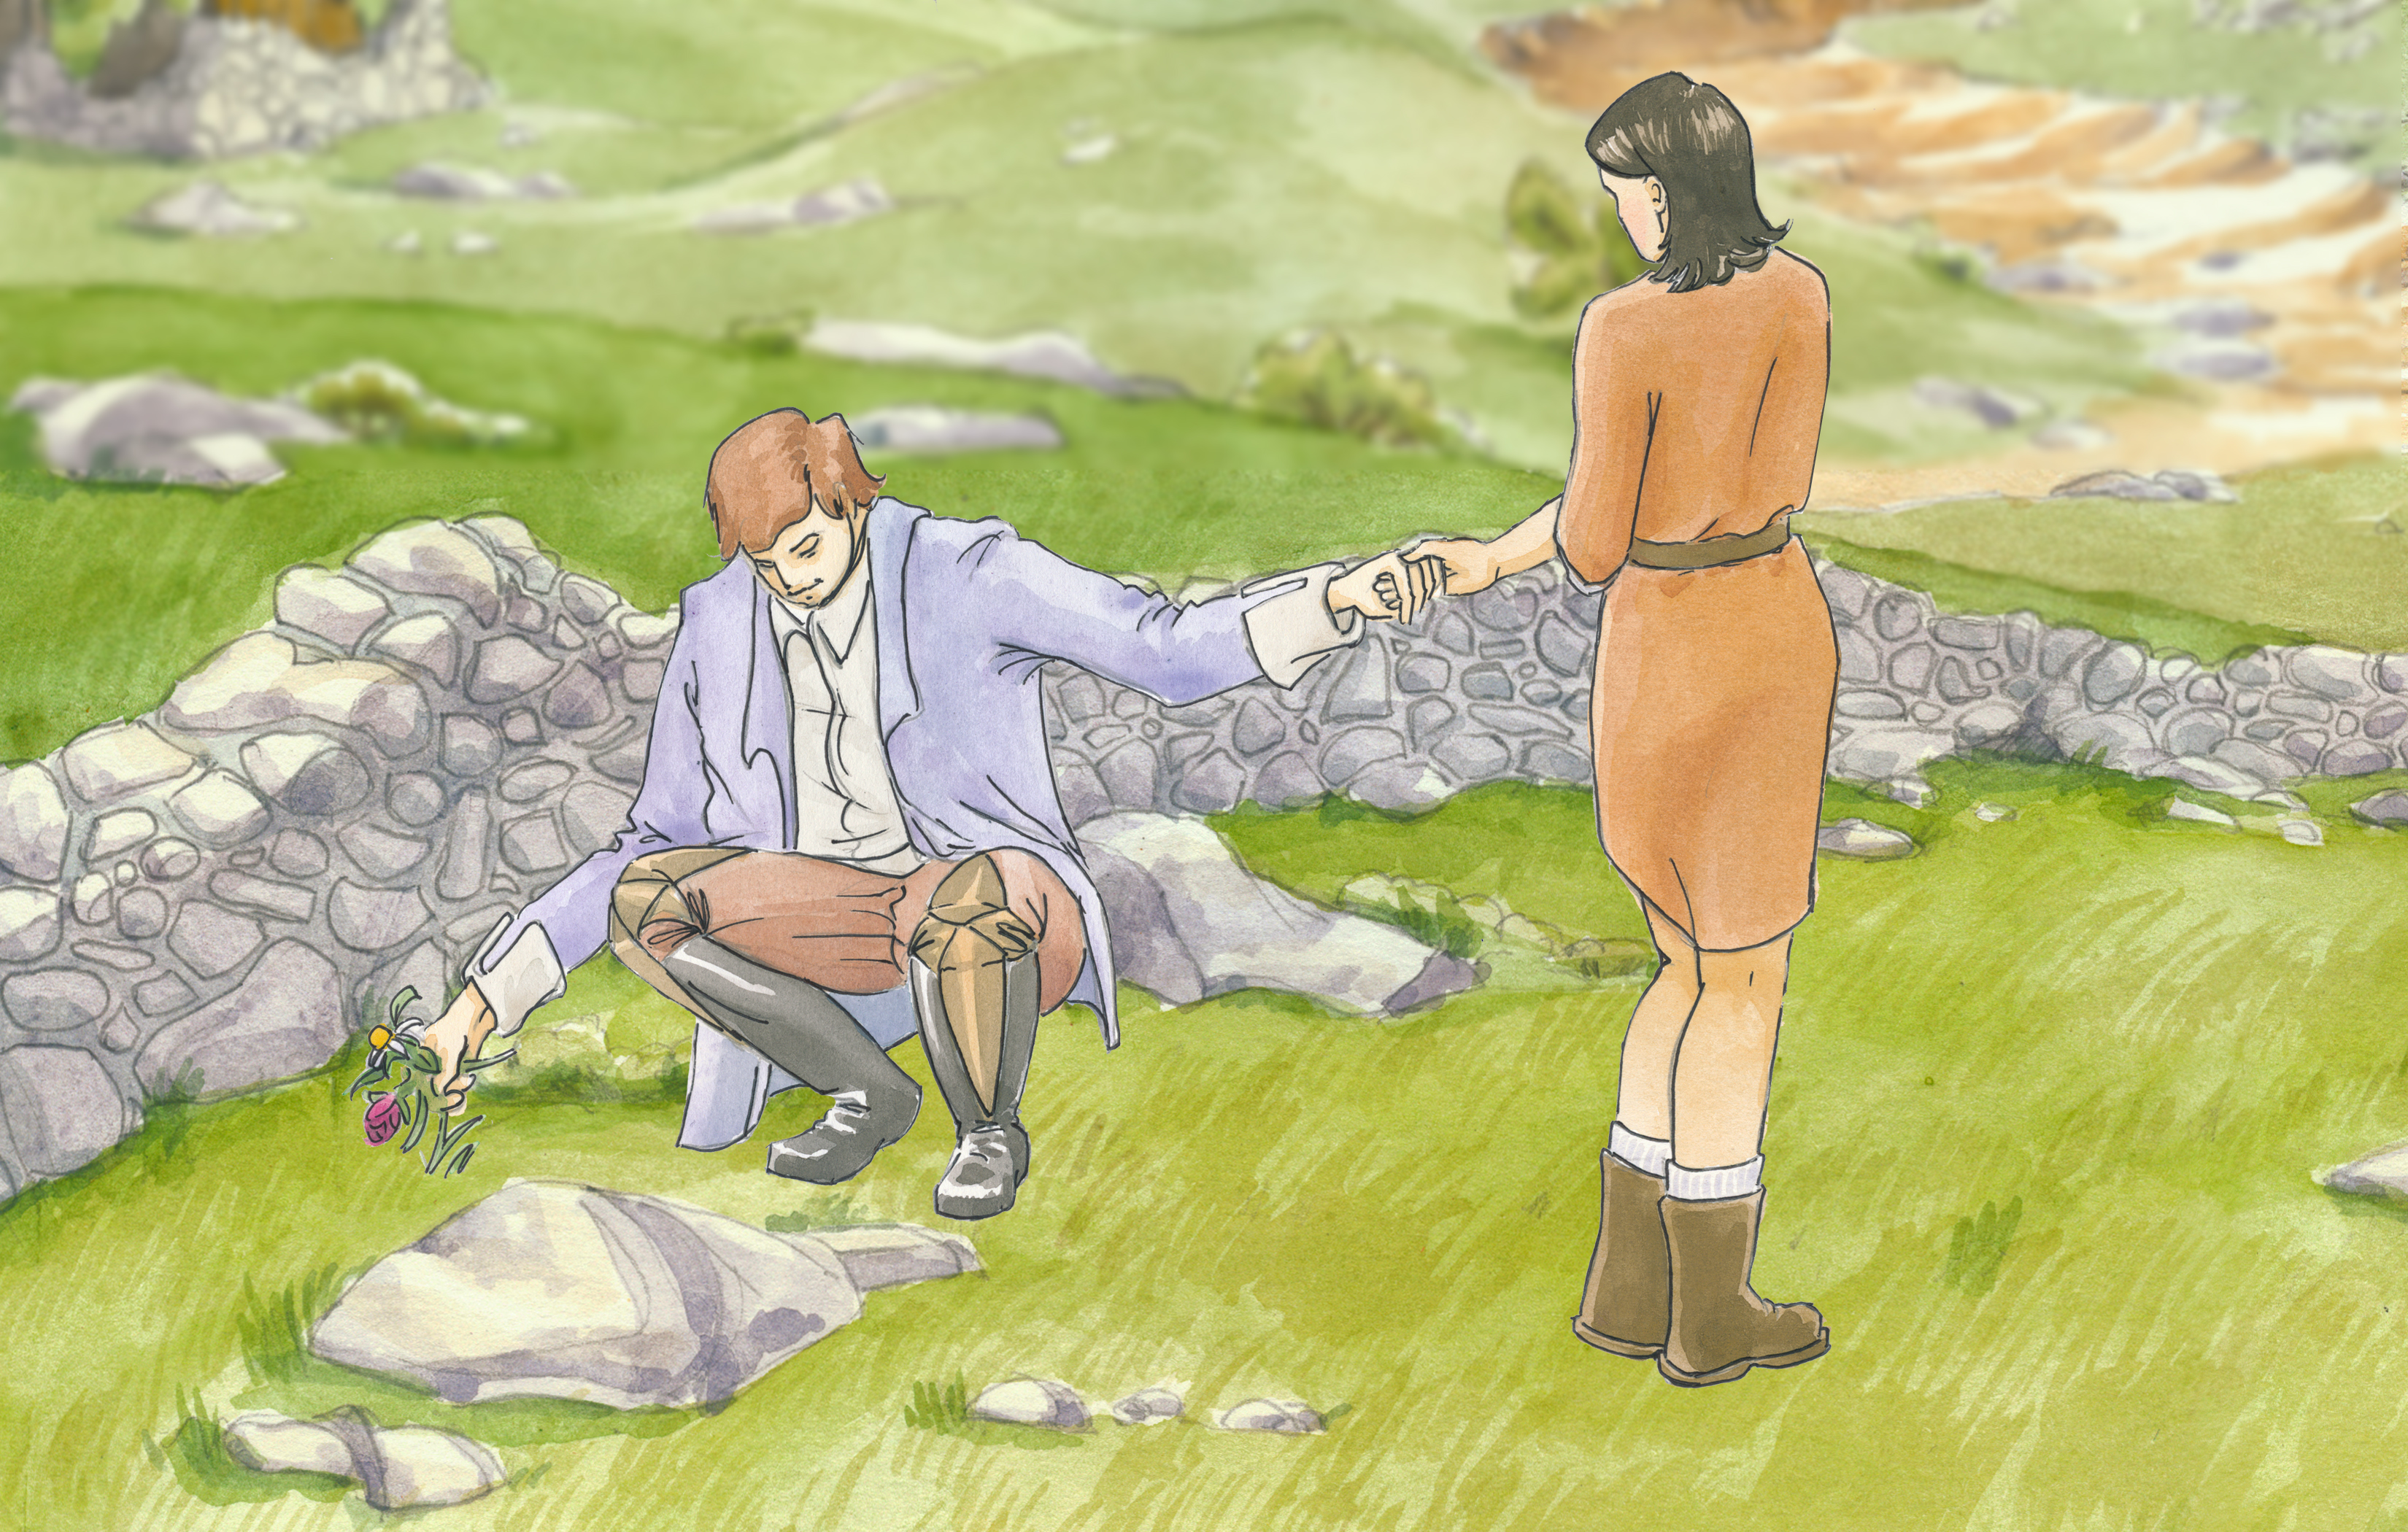
Once I had original artwork and storyboards, the animation process was ready to begin. I created a batch of well-defined pencil sketches, used a light box (thanks Jonathan) to transfer the sketches to watercolor paper, then painted them in gouache. Once dry, I outlined each character in black pen. After scanning in the images (ok, Blair did all the scanning, thanks Blair!), I cleaned them up and digitally enhanced them (vibrance, contrast, etc). All these files had to be scanned in at a fairly high resolution, since their final output size would be projected on a screen size of about 20-30 feet wide. Once the individual images were scanned in, there was also a fair amount of “photoshopping” where I cropped parts of one original and overlaid it onto another original, cutting down on how many originals I had to make, such as with the position of Reina’s arm in the samples below.
-
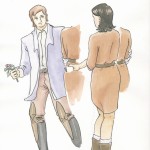
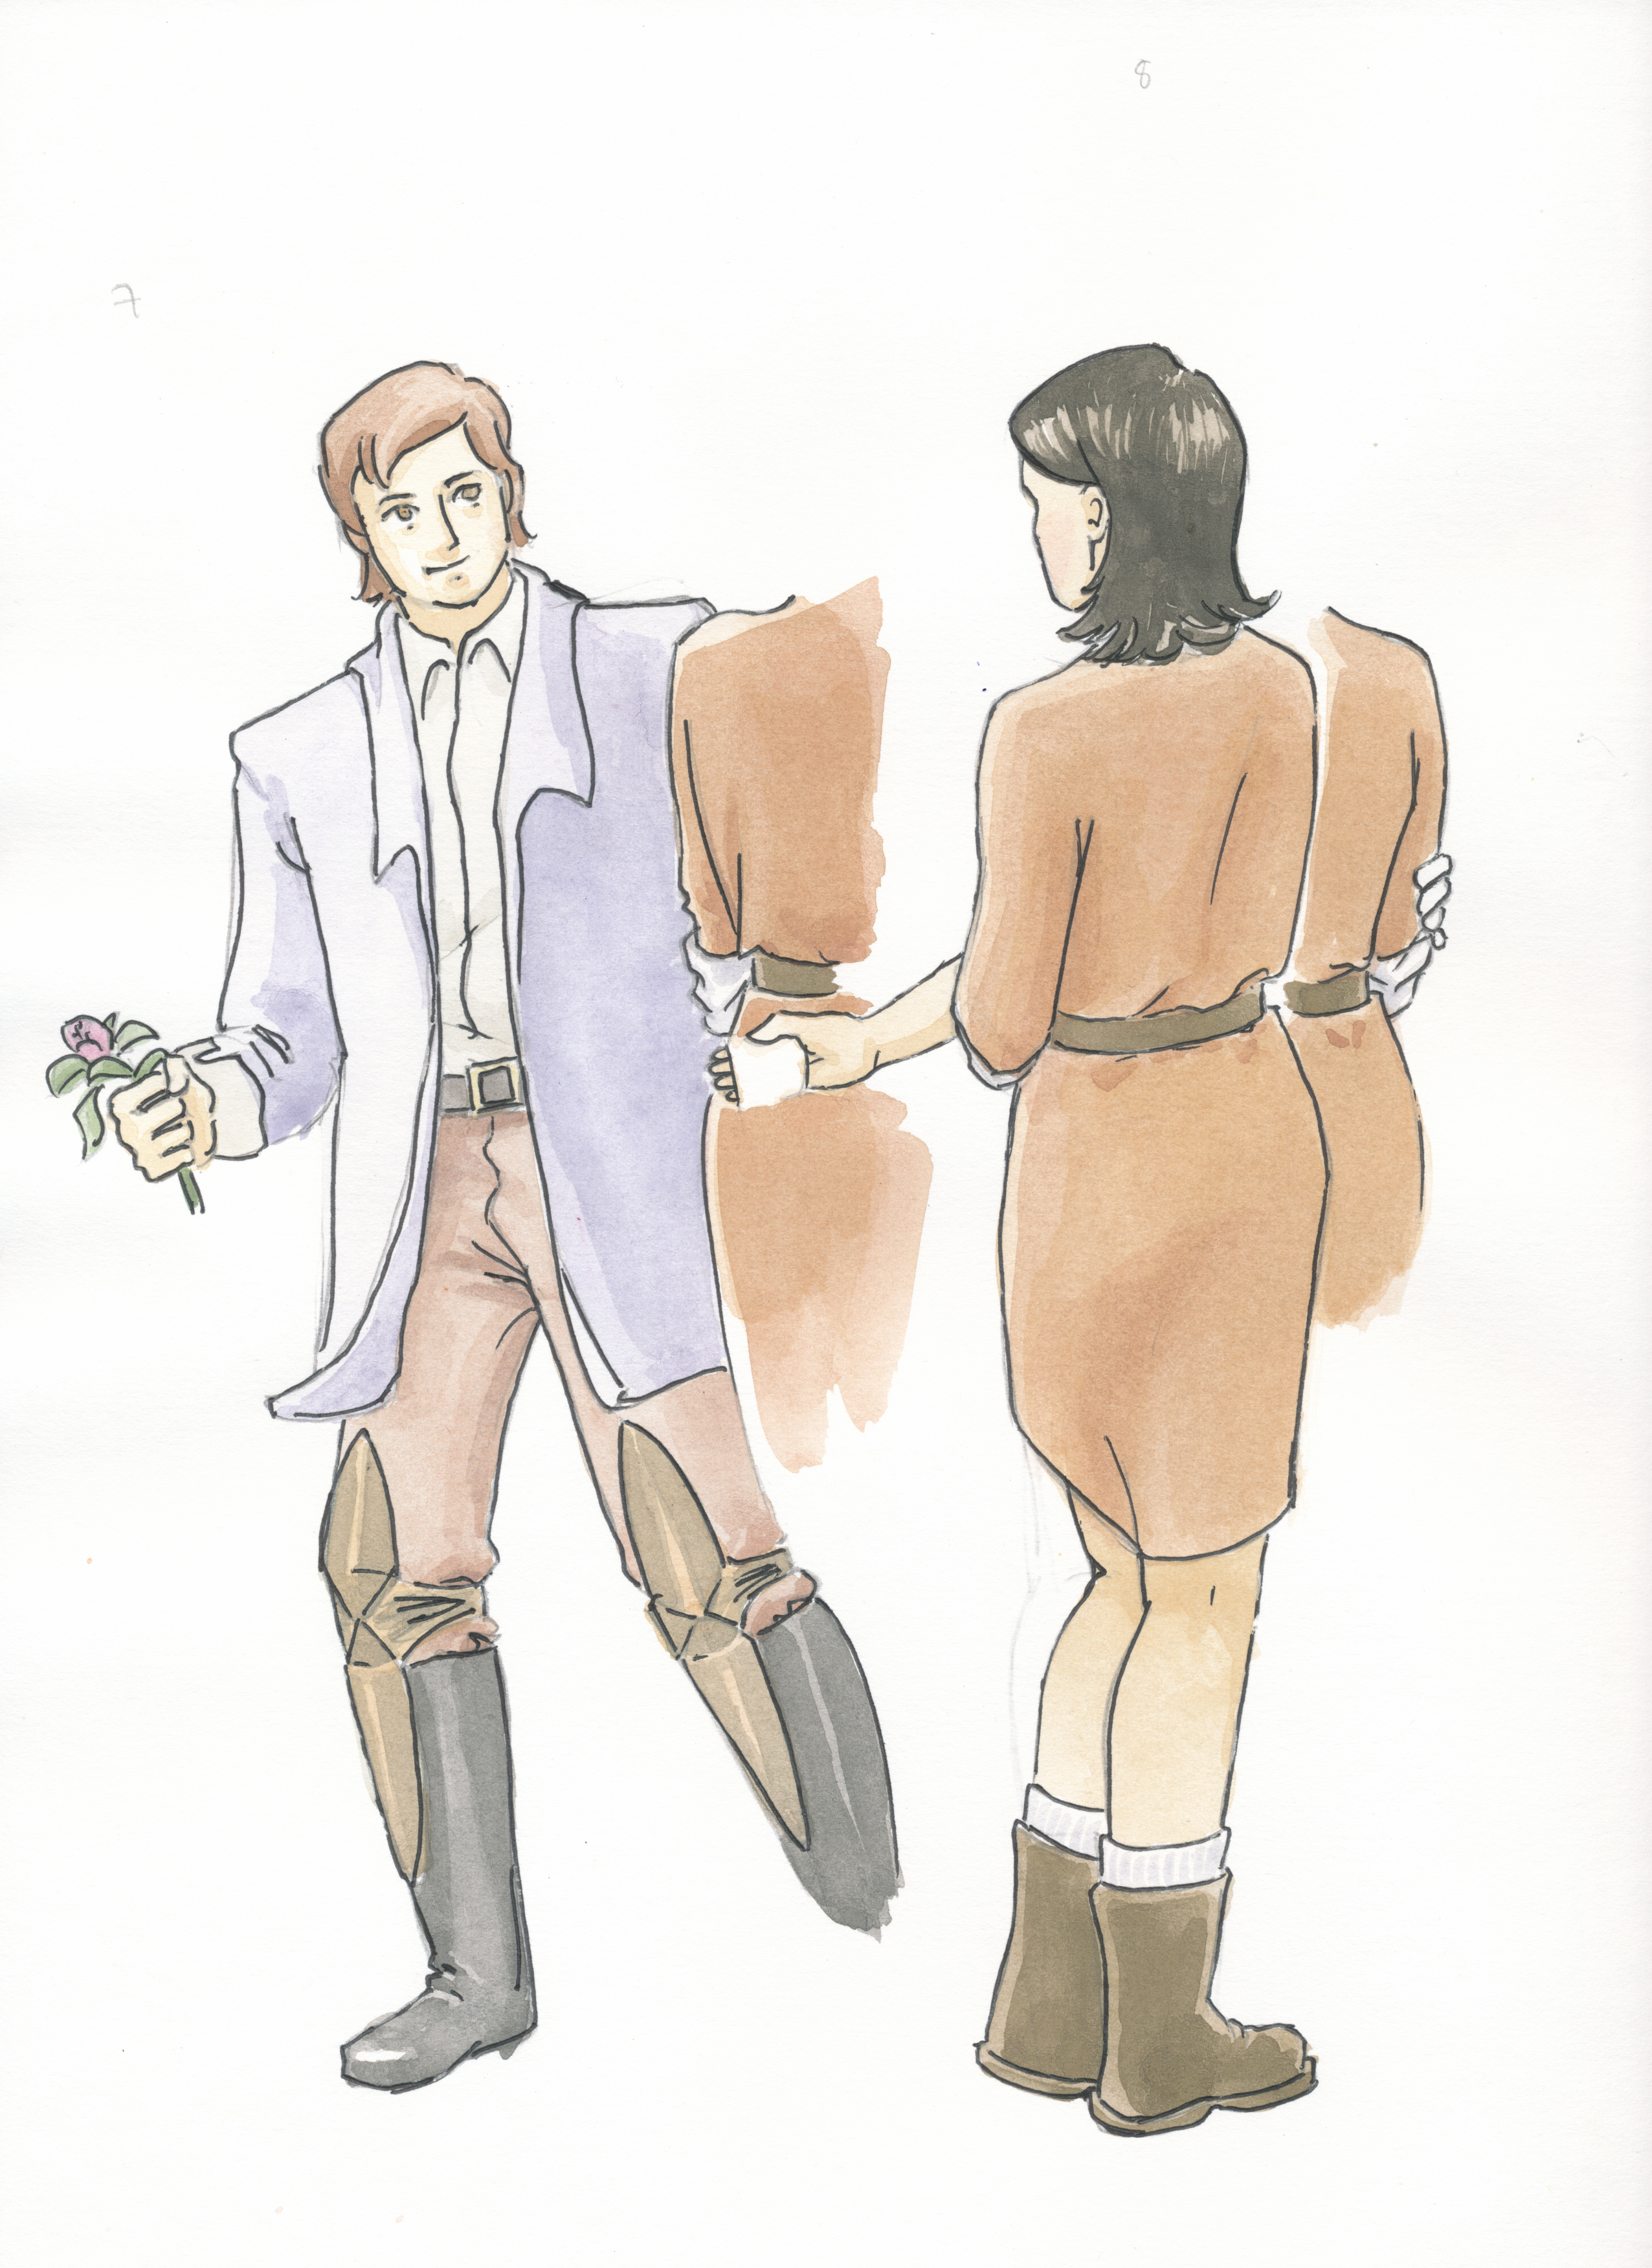
- Original Scan of Hideo and Reina
-
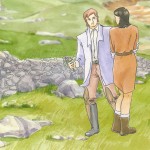
- 1st Final Image from the Original Scan
-
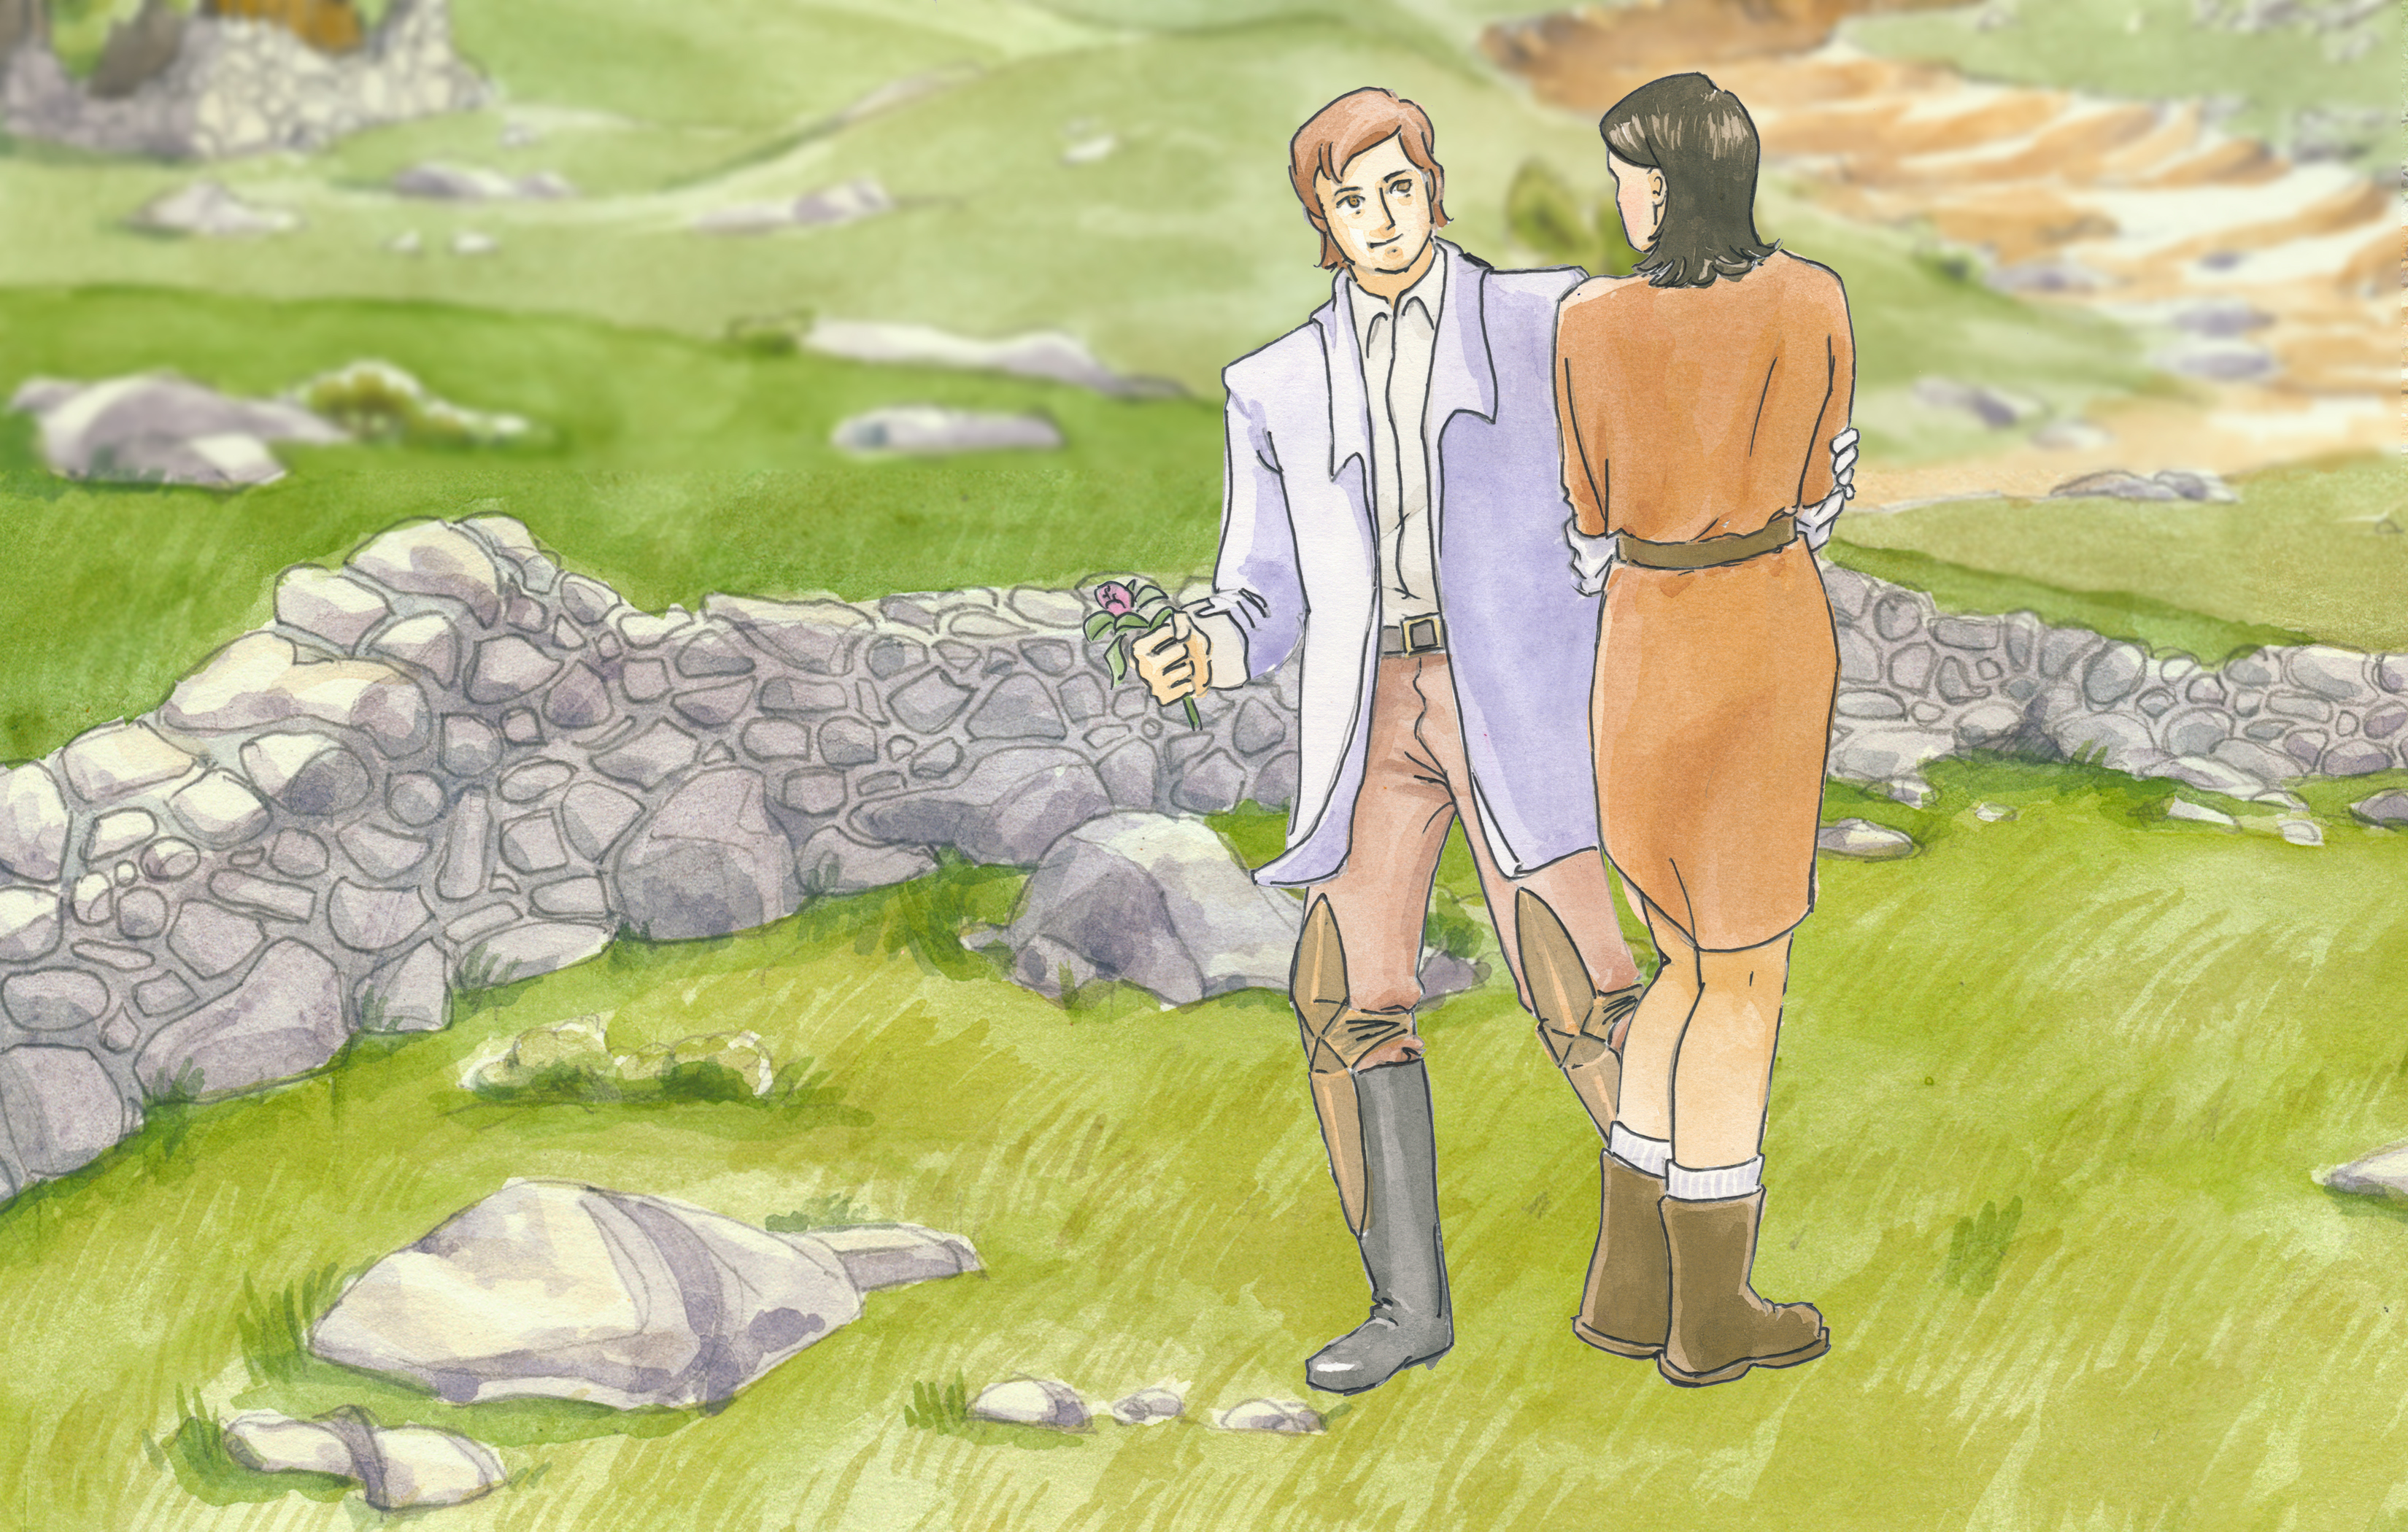
- 2nd Final Image from the Same Original Scan
When I had all these pieces cleaned up, I assembled them into “frames” based on the timings I set up in the storyboarding process. I then transferred those files and the storyboards to our animation technician, Arthur Shi. I was happy to have whatever help I could with this process, and since I’m not trained or familiar with the software needed to create slick, dynamic animations, it was critical that we had Arthur helping out. With a little help from Chris and Blair, Arthur was able to piece together my notes with the frames I had set up. For any artist out there interested in trying this process, a word of advice: work closely with the animation technician! It can be very difficult to convey your intentions verbally when the concept is purely visual.
It’s also good to know the capabilities of your animation software. I had some pretty crazy ideas about how images were “layered” onto one another that wasn’t actually possible to do within the animation software. While not having some of those effects didn’t ruin the overall intention, if I had known the capabilities beforehand I may have planned my sequence differently.
Here is a look at how the artwork evolved for the piece “Red Wings” from Final Fantasy IV:

Sketches for Red Wings

Scans for Red Wings

Final Images for Red Wings
A side-note about the animation process: we had to find an effective way of setting the tempo of the animation sequences as we feared setting an animation to the accurate and consistent timing of a computer was unlikely to be matched by the musicians playing live. One idea was to set them up in PowerPoint and hit the space bar to manually set the animation moving forward. This idea fell apart due to file size, which affected the computer’s processing timing and the quality of the output image. Long story short, we never came up with a truly good solution to the problem, so Arthur ended up running the animations through video mixing software backstage, which allowed him to manually bump the speed of each animation up or down on-the-fly to keep pace with the live performance (like a club DJ listening in one ear for the beat of a song and then trying to sync up the tempo of the next song to match). Tricky stuff.
There is a bit more technical stuff that went into getting the animations in place and put into presentation format, but I really didn’t have a hand in that process, so can’t speak to it. I would suggest making sure all your animation files are completed a week or so before showtime, allowing you a nice window of tech run time to tweak and test before curtain call. But that’s probably sound advice for any aspect of putting together a full scale production. 😉
If you’re curious about any other steps in the creative process of making the projections for Hideo, post a comment and let me know!


