There are many different tools and processes for transcribing and arranging music, so I thought I’d go over some of my process right here. There’s also a little bonus you can listen to at the end, so read on!
Once we select the music to perform and determine which instruments will comprise the ensemble for each piece, the transcribing and arranging is ready to begin. For some of our music, the musicians can listen to the original audio, but for most of it – where the arrangement is a transformation of the original – the musicians are waiting on me to get started!
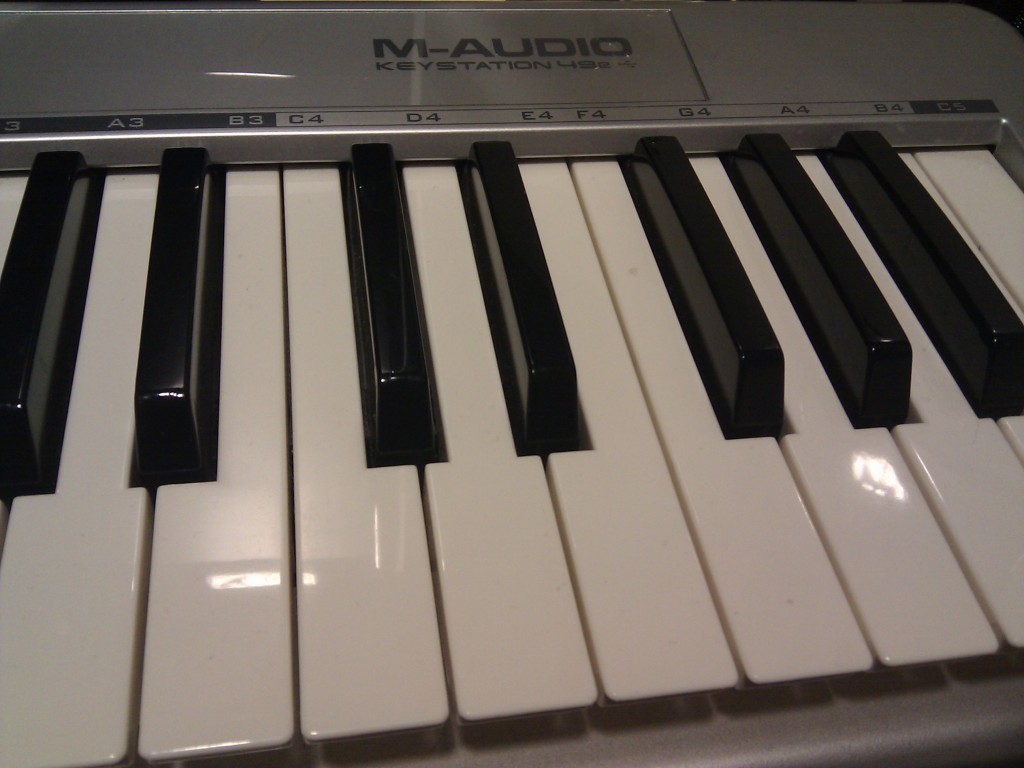
I primarily use two tools to do my work: any normal media player to listen to the original audio, and Sibelius 6 for the actual notation and generation of MIDI renderings. I haven’t had occasion to use anything special to listen to the music I am transcribing, though I do know some will use a heavier-weight program with the ability to slow down the music, thus making it easier to hear and write down. Though I haven’t used Finale, Sibelius’s primary competitor, I hear Sibelius is a much more usable piece of software. Side note: if you have an earlier version of Sibelius, the new magnetic layout in 6 makes it well-worth the price of the upgrade! Also, using a midi controller makes inputting notes a bit easier; I use the M-Audio Keystation 49e.
After firing up my go-to tools, it’s time to start writing down the notes. I input these directly into Sibelius while sitting at my computer, working from section to section and instrument to instrument. This means I listen to the first 8 to 16 bars and write down the drum part. Next, I listen to the same section again and write the guitar part. I repeat this until I have all the notes for all the instruments in the section. Then, I do the next section. And the next. Once I reach the end of the piece, I’m about 1/3 of the way done! Next, I will generally take another pass over the entire piece and add in dynamics and other expression markings. A final pass through the music uncovers the many errors that inevitably appear in the music, and I correct those as best I can; this includes both musical problems and typographic problems. Going over music repeatedly just to look for errors can be a bit boring, but it is absolutely essential. If you hand out sheet music that has lots of problems, you can easily have logistical issues making sure a musician has the correct piece of music and hasn’t memorized a part that had errors in it. And of course, you want to end up with a clean, professional, final product in any case.
The music, along with a MIDI rendering of the arrangement, is distributed, and rehearsals can begin. It’s good to be around for those rehearsals just in case any questions about the music arise. Here, there are likely to be more changes made to the music, which should be noted and done in Sibelius at a later time. At this point, you have a solid Sibelius file, and MIDI file based on it.
Awhile back, I stumbled upon a tool for creating an 8-bit audio version of any MIDI file, called GXSCC. It’s very simple, and creates surprisingly great-sounding audio for little to no fuss! Fire it up, drag and drop the MIDI file on it, and you immediately start to hear an 8-bit version of your file. In fact, here’s an 8-bit version of the arrangement of Theme of R.O.D (Opening Version) from Read or Die OVA that we just performed for Animation on Display 2011.
If you want to know anything else about my process or just want to tell me how much you like (or dislike) my little 8-bit clip, leave me a comment.


It also sounded like you cneaghd/added a little bit in the video of yourself playing Romantic Flight that was not in the sheet music would you give away your secrets as to what you cneaghd and/or added? Either that or the grand piano just makes your playing sound so much better than my piano makes it sound! 🙂